Friday, July 22, 2011

My Very First Giveaway!


I am excited to announce my very first giveaway! The people at Forgotten Way Farms were kind enough to send me a DVD, that I reviewed and am going to GIVE AWAY! The DVD is entitled "Homesteading For Beginners Volume 3". The DVD is 120 minutes long and loads of information on canning (meats, potatoes and tomatoes), making noodles (the Amish way), culturing buttermilk and sour cream, AND has a bunch of recipes using their canned goods! It also comes with a recipe book, that has all the recipes on the DVD!
To Enter: Leave me comment telling me why you'd like to get your hands on this DVD. For extra entries, facebook and/or tweet about it! Make sure to include a link to this page! Post 1 comment for each things you do, for more chances to win! I will announce the winner on Tuesday July 26th. Good Luck!

Thursday, July 21, 2011

Wow Butter


I just wanted to share a product I tried today! My daughter has a pretty severe peanut allergy. She can't eat or touch peanuts in any way. So we usually get her soybean butter for her PB&J's. I have had a few different brands of soy butter. None were amazing. But this new soy butter I got this past week (at Walmart!) is called Wow butter and it's GOOD! The consistency is like creamy peanut butter and it's the closest in taste! It is made in a peanut, nut, and dairy free plant. I just wanted to pass this along, if there were any other peanut free families out there! Yum!

Wednesday, July 20, 2011

Culturing and Fermenting Foods With Cultured Mama


Today I got the honor of interviewing my friend and fellow blogger Michael, from over at Cultured Mama, about the art of culturing and fermenting foods. This is something I have recently discovered, during my journey in making all my foods from scratch, using all natural ingredients. I have not successfully cultured any of my OWN food (though if you recall I did try a sourdough starter, unsuccessfully). I really want to learn more about this process, and Michael was kind enough to talk to me about all she knows about culturing and fermenting foods!

Me: Michael, for the people who aren't familiar with culturing foods,what exactly are cultured foods?

CM: Cultured foods are foods that have been fermented, often through the introduction of enzymes in the form of beneficial bacteria and yeasts. It was a common preservation method before modern refrigeration, and fermented or cultured foods often improve with age, rather than going bad, because the bacteria and yeasts fight off bad critters that might otherwise spoil the foods.

Foods like yogurt, kefir, kombucha, sourdough, naturally brined pickles, sauerkraut or kimchi are some examples of cultured foods. Old fashioned ketchup and soy sauce and other condiments made using traditional methods are also cultured foods. (A natural brine of sea salt, whey or culture starter is different from the white vinegar brine commonly used for grocery store pickles or sauerkraut. A white vinegar brine does not impart the necessary probiotics [enzymes] required for it to be a truly cultured food.)

Me: Why are cultured foods good for us?

CM: Cultured foods are excellent for our digestive health. They help repopulate the gut with healthy bacteria and yeasts and maintain balance in the digestive tract. They also aid in the digestion of our food and help stave off infection by boosting our immune system (most of which is located in the gut!)


Once upon a time, folks ate a cultured food with every single meal, either in the form of condiments or sometimes as the entire meal! Consider a Reuben sandwich that is prepared using traditional methods: every element, from the sourdough bread, to the corned beef, to the sauerkraut, Swiss cheese and condiments are cultured foods! Even the butter it is grilled with can be a cultured food. Wash it down with a traditional beer or glass of kefir and you have just had an incredibly probiotic rich meal!

Me: Who would they most benefit?

CM: EVERYONE benefits from eating cultured foods and taking in as many probiotics as possible. But some folks are in much more desperate need than others. If you have had a lot of antibiotics or suffer from digestive issues or immune system disorders, probiotics in the form of cultured will help immensely.


Since cultured foods and ferments are literally in a state of pre-digestion, they are often easier to handle for folks who are sick or have trouble digesting their food. I recommend EVERYONE eat more traditionally prepared foods, whole foods, and living foods, like fermented and cultured foods prepared using old world, traditional methods.

Me: You sure know your stuff! How long have you been culturing foods?

CM: I've been culturing for close to four years now, and am slowly adding to my repertoire.

Me: So What have you cultured or fermented?

CM: My first fermented food was the mayonnaise recipe from Nourishing Traditions by Sally Fallon Morell, shortly followed by the ginger carrots recipe from the same book (seriously, it's like a food bible.) I have corned beef, and made traditional pickles, fermented many different fruits and veggies and made some simple soft cheeses. My favorite and most common cultures that I have going in my kitchen on a day to day basis though are kefir, kombucha, and sourdough. 

Me: What is your favorite recipe using cultured ingredients?

CM: That's a toughie. I have some go-to recipes that I make a lot but I probably make sourdough waffles the most, because it's a quick breakfast in the morning.

Me: This is great, but Is culturing an easy process? Can anyone do it?

CM: It's AMAZINGLY easy. And ANYONE can really and truly do it. It takes planning and a minor investment of time, but once you get your groove going and it becomes part of your kitchen routine, it actually SIMPLIFIES prep time, believe it or not. Breaking up your food prep into night before and morning tasks can seem a bit daunting at first, but once it becomes routine, like I said, it makes your time in the kitchen much easier.


Besides, most cultures are truly set it and forget it. You throw a bunch of stuff in a clean jar, throw a lid or tea towel over it, and just let it sit for a few days before tossing it in the fridge for future use. It doesn't really get much more simple.

Me: Are there any resources on the Internet that are your go-to, when it comes to culturing and fermenting foods?

CM: I have a lot of mommy blogger friends that I refer to often, like Cooking Traditional Foods, Nourished Kitchen and Gnowfglins.   I am also part of a network of traditional foodie moms called The Nourished Living Network, and we all commonly blog about such things. Also check out this great opportunity with a company that sells fresh, healthy organic products - Beyond Organic

Me: Michael, Thank you so much for your time and all your great information! Do you have any advice or insight to the person who has never heard of this before and wants to try it themselves?

CM: kefir (dairy or water) and simple pickled veggies will lead you down the delicious and nourishing path to making artisanal breads, cheeses, and incredible ferments to amaze your friends and astound your taste buds. Not to mention improving your health! :-):-)

Thank you so much to Michael! Be sure to check out her website, Cultured Mama, Like her facebook page (Culutred Mama), and all the great resources she listed! If you have any questions, or comments about your own experience, leave a comment below!

Tuesday, July 5, 2011

Bodacious Baked Beans

I am a big fan of baked beans! I have tried so many different kids of baked beans, I wanted to make a little different spin on them. So here is my "beefed up" recipe for baked beans. I am calling them Bodacious Baked Beans! This recipe is for a crock pot.
Cook up a pound (or so) of ground beef, and drain the fat. Also cook up a half of a package of bacon. Crumble your bacon when cooled. In your crock pot add - 1/2 onion chopped small.
I big can of Pork and Beans, 2 cans navy beans (drained) and 2 cans Pinto Beans (also rinsed).

 1 Cup of ketchup, 1 cup of BBQ sauce and 1/4 cup brown sugar. I also added some garlic powder to taste. throw in your beef and bacon and give it a good stir! Cook this on high for about 4 hours. Man these were tasty! They go great with some hot dogs! And you'll really WOW em' at a potluck!

Perfect Pepperoni Bread!

I went to a potluck picnic this weekend and wanted to bring something really different. I LOVE a good loaf of bread. At parties I'm the one usually stationed at the bread and dip bowl. So this time I decided to make some pepperoni and mozzarella bread.
For my bread, I made my recipe for pizza dough (the recipe I had said "refrigerated bread dough" - pssh, really?). See my post about homemade pizza, and you'll get the dough recipe there.

Once the dough is done rising, roll it our into a rectangular shape. Not too flat please, we do want some depth to this bread.
Next sprinkle your shredded mozzarella cheese all over the surface.

 You don't need a thick layer, we are making bread, NOT pizza! Next add your pepperoni slices all over your mozzarella layer. Start at one of the short ends and roll your bread up. Tuck the sides under and put it in a greased bread pan, with the seam side down.

Bake it in a 415 degree oven for 35 minutes.

 When it's cooled off, slice it up and watch it GO! I didn't have a crumb left over from the party! I will definitely be making this again!

Saturday, July 2, 2011

Crockpot Lasagna is Stupendo!


Lasagna is so tasty, and now even easier to make! I love to make lasagna in the crock pot. The initial cooking and mixing takes a little bit, But then you layer your ingredients in the crock pot and let it cook all day!

I used 1 small container of ricotta cheese, 1 bag of shredded mozzarella cheese, and one container of fresh shredded Parmesan cheese (not powdered). I also used one egg, and fresh herbs from the garden (Italian flat leaf parsley, Oregano and Basil) Mix that all together very well.

 Next I used frozen meatballs and Italian sausage. I defrosted the meatballs and sliced them up, probably about 2 cups sliced. I put some water in a frying pan and fried the sausage until done (over medium high heat). I sliced them up and used about 2 cups sliced as well (I put the rest with the meatballs I didn't use into the freezer to use the next time I make pizza)

 For the tomato sauce I used a bottle of Bertoli Garden style pasta sauce, 1 can of diced tomatoes and 1 can of our favorite pizza sauce (it's listed in my pizza recipe).

I used uncooked, regular old lasagna noodles. Nothing special. Cover the bottom of your crock pot with a little layer of sauce. Add your first layer of noodles. Cover that with the cheese and then the meat. Sauce, noodles, cheese, meat, sauce - repeat until you only have enough for one last layer. I then put noodles, cheese, meat and sauce and covered it. Let it cook on low for about 6 hours and TA DA! you're lasagna is ready to eat. Throw together a salad and slice up some Italian bread and you've got a meal!

Thursday, June 30, 2011

Flour Tortillas ~ delicioso!

                                                              
I think making your own flour tortillas is the easiest and one of the most satisfying breads to make! Not only that, BUT you won't find a tastier tortilla anywhere!! Also, they are thick and filling! With store bought tortillas, my husband will have 2 (at least) burritos. With mine, it's 1 and done! I can't say enough goodness about them!!
I make my tortillas BIG when making them for burritos. Here is my recipe -
As always, I used my handy dandy mixer, with this attachment. Mixers really make cooking easy!
Ingredients: 4 cups of all purpose flour
a teaspoon of salt
2 teaspoons baking powder
2 tablespoons LARD
OK, side note here. You can use shortening for this. I, however, LOVE to use bacon fat I store away into used (and cleaned out) coffee cans. I save bacon fat, chicken fat, all that good stuff! You can use it as lard, or in place of shortening (it tastes fabulous in a pie crust you're using for a pot pie. DO NOT use it for a sweet pie, though. Veggies taste WONDERFUL tossed in chicken or turkey fat, sprinkled with salt and pepper and broiled!!) OK, back to the list
1 & 1/2 cups water.
Put the flour in the mixing bowl. Add all the ingredients EXCEPT the water. Turn your mixer on stir and let that all mix up (will be crumbly). Add the water a few drips at a time until the dough is moist and sticking together. You may not need to use all the water. You just want the dough sticking together enough to form it. That's it.
Heat some oil in a frying pan (I use cast iron - I love my cast iron!). Put the heat on medium high.

Take out some dough a bit at a time (experiment with different sizes til you can eyeball how much you want or need). Flour your surface and a rolling pin. Toss the dough in the flour a little, then start to roll it out. Roll it out like you would a pie crust, making a circle. Make them AS FLAT AS POSSIBLE. They will puff up!

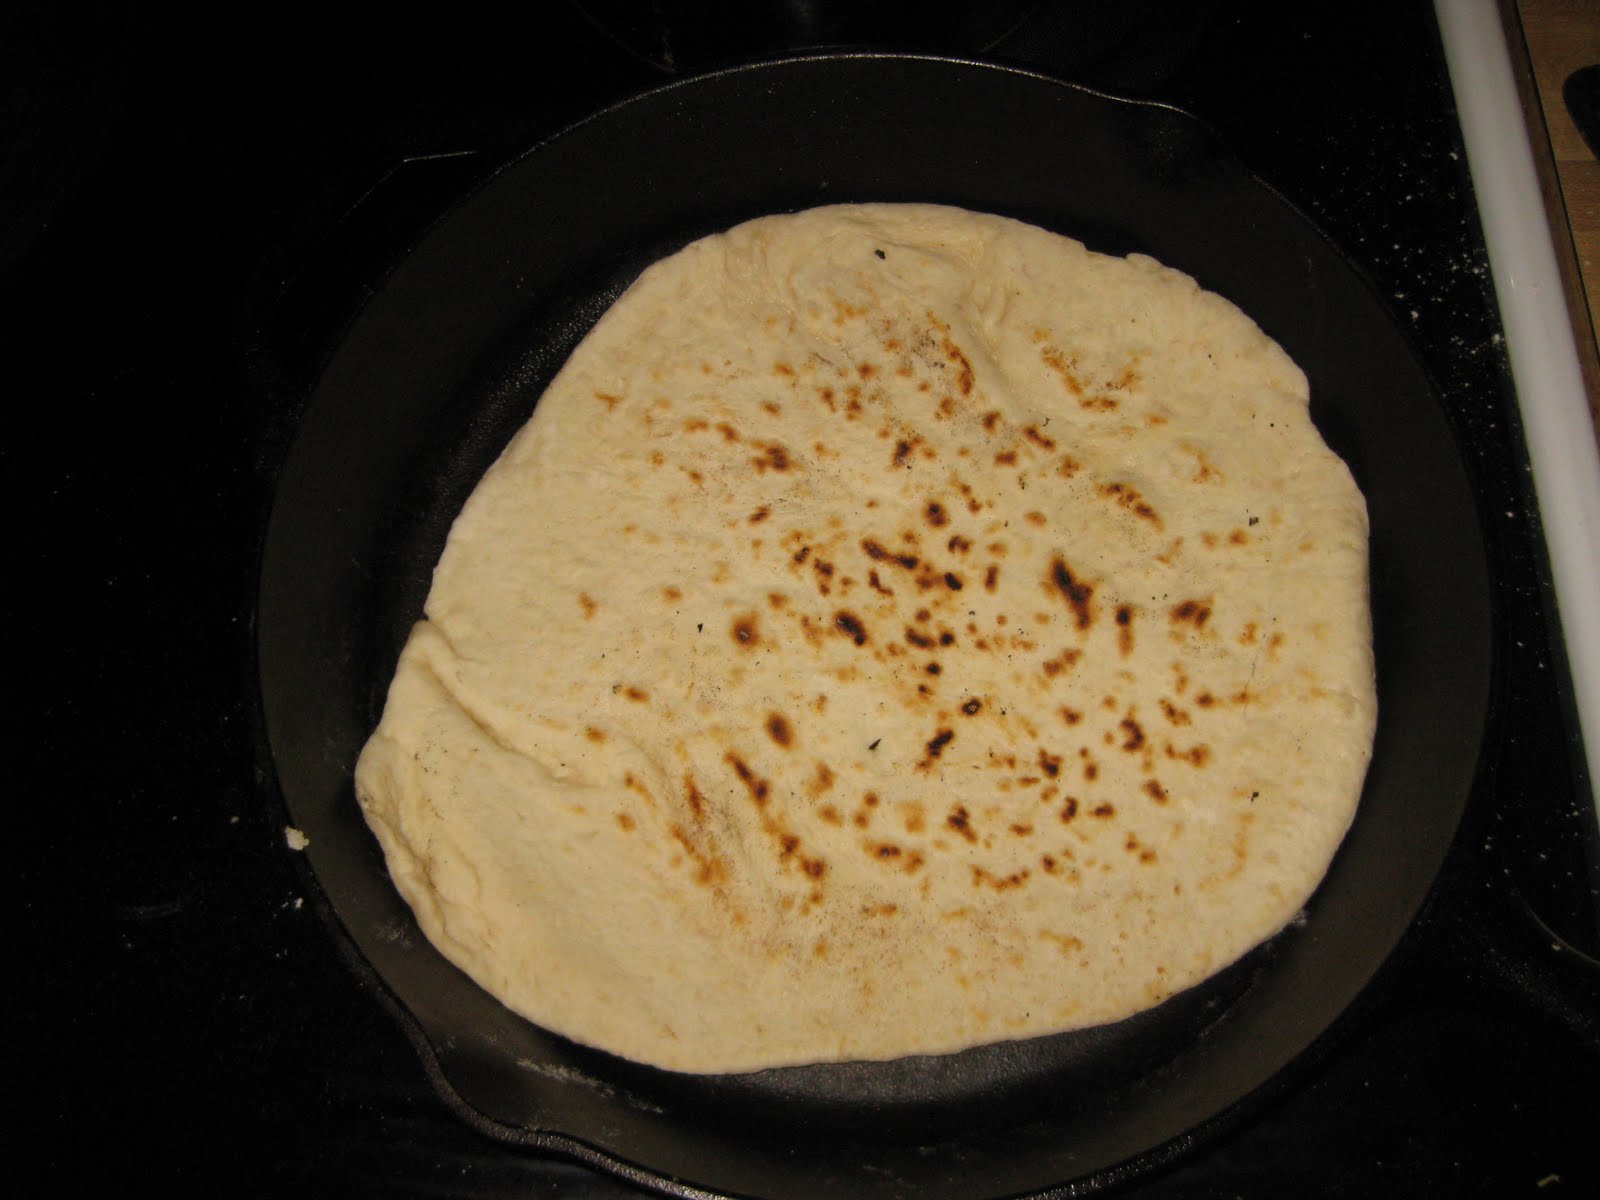
When it's as thin as you want it, plop it in your frying pan. You'll only need to fry it about 5 minutes or so. Then flip it and cook about 3 minutes or so. You'll need to experiment with this one, as I don't have an exact time.
After that, remove your tortilla from the pan, place it on a plate and make the others. You can wrap it up and save it for later, or just fill it and serve them fresh! Mmmm, fantastico!